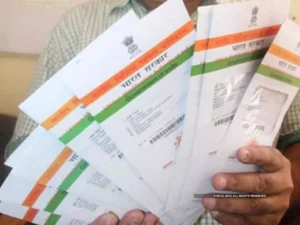
In India, the Blue Aadhaar card is designed specifically for children under the age of five, serving as a vital Know Your Customer (KYC) document. Issued by the Unique Identification Authority of India (UIDAI), this card plays a crucial role in accessing government subsidies and welfare schemes, featuring essential details like the child’s full name, permanent address, and date of birth.
Biometric Data Requirements for Children
Unlike adults, the issuance of the Blue Aadhaar card for children does not necessitate biometric data initially. Instead, the UID is processed based on demographic information and a facial photograph linked with the UID of their parents. However, when the child reaches the age of five and again at fifteen, biometric data updates for ten fingers, iris scans, and facial photographs become mandatory to maintain the card’s validity. The biometric data update for teenage Aadhaar cardholders is provided free of charge.
In 2018, UIDAI introduced the concept of the ‘Baal Aadhaar’ card, distinguished by its blue color, exclusively for children under five years old.
Step-by-Step Guide for Blue Aadhaar Card Registration
- Visit the UIDAI website at uidai.gov.in.
- Navigate to the Aadhaar card registration option.
- Enter the child’s name, parent/guardian’s phone number, and other required information.
- Select an appointment slot for Blue Aadhaar card registration.
- Book an appointment at the nearest enrollment center.
- Visit the enrollment center with essential documents, including your Aadhaar card, address proof, and the child’s birth certificate.
- Provide your Aadhaar details for linkage with the child’s UID; only a photograph of the child is required, no biometric data.
- The document verification process commences.
- Receive a message on your registered mobile number upon completion of the process.
- Collect the acknowledgement slip.
![]()


